Hands down..this is my favorite craft I've ever made... SO cute!
Materials:
Crepe Paper (mine is from Dollar Tree- comes in a 2 pack -black and orange- or $1)
Shilouette or pencil and scissors (I used both..equally successful:))
Hot Glue
Some form of liquid glue (I used Elmer's Paper Craft Glue Gel)
Glitter
Fun paper
Needle and Thread
Hole Punch
Fun scissors
Bosox Outline Font
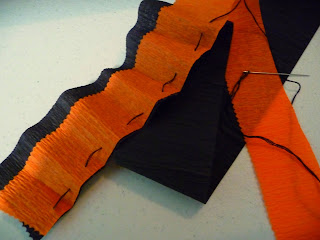
First- Cut along the side of the orange crepe paper with your 'fun' scissors. Line up the edges after cutting. (you don't need to fold the crepe paper back and forth...this was a picture from a failed attempt at making a rosette...I came up with a better way..)

Better way: Thread a needle, and make big stitches (about 1/5 of an inch) along the lined up edge of the crepe papers. Do not tie a not at the end. Pull the thread tight as you sew, and a rosette will begin to form. Once the circle is complete, cut the crepe paper, and tie the ends together. The seam will not be perfect, but it won't matter... trust me:)
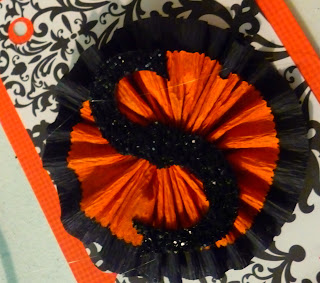
Cut out fun letters- I used "Bosox Outline." Cover the front of the letter in glue, and cover with glitter. Set aside to dry. (I also used black paper, since I used black glitter....that way it doesn't show if you miss a spot.)

Trace the outline of the shape you want your rosettes to be on. You will want to make 2 different sizes, one for the rosette to attach to, and one to go behind that one.
If you have a silhouette, I used the "6 pattern flag set" shape. However, you don't have to have a silhouette to do this!!... I have a silhouette, but wanted to show you that you can do this with out one....So, I cut some out by hand.
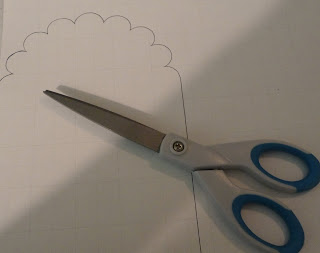
Use some form of adhesive to attach the two shapes together. I used scrapbooking tape.

Hot glue the letters onto the center of your rosettes.


Hot glue your rosettes to your shapes.

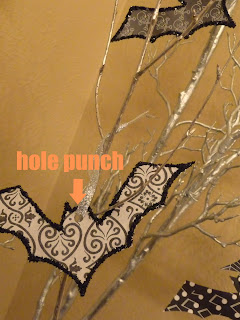
Hole punch, and string a pretty ribbon through...

Ta-Da!


Sorry about the picture quality- the lighting in this room is really bad....and it's night time..you know, when I should be sleeping!
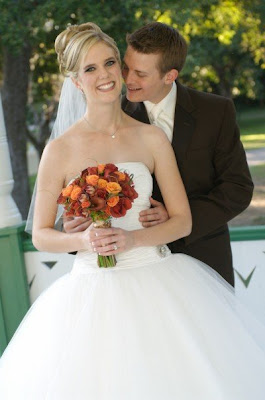

 He was so sweet not to get me back...
 One of my favorite pics...
 After saying our vows, instead of walking down the isle together. The choir sang "I will follow her..wherever she will go...." Ray had no idea this was happening.


 He was so sweet not to get me back...
 One of my favorite pics...
 After saying our vows, instead of walking down the isle together. The choir sang "I will follow her..wherever she will go...." Ray had no idea this was happening.
.jpg)
